
Quick Guide to Adjusting a LiftMaster Garage Door Opener
Safely and Efficiently with step-by-step homeowner tips.
When your garage door begins to reverse unexpectedly or fails to close completely, it’s more than just inconvenient; it could be a sign that your opener settings need attention. Issues like these often stem from misconfigured travel limits, force settings, or sensor misalignments. Fortunately, adjusting a LiftMaster garage door opener can usually resolve these problems without extensive repairs. With the right approach, you can restore safe, consistent performance to your garage door system.
If you’re unsure where to start, turn to the trusted professionals at Rockford Door Company. Their team has years of experience helping homeowners diagnose and correct common opener issues through expert service and precise calibration. In their detailed guide, you’ll learn the proper tools, techniques, and safety checks to adjust a LiftMaster garage door opener. With their help, you can take the guesswork out of garage door maintenance and ensure lasting reliability for your home.
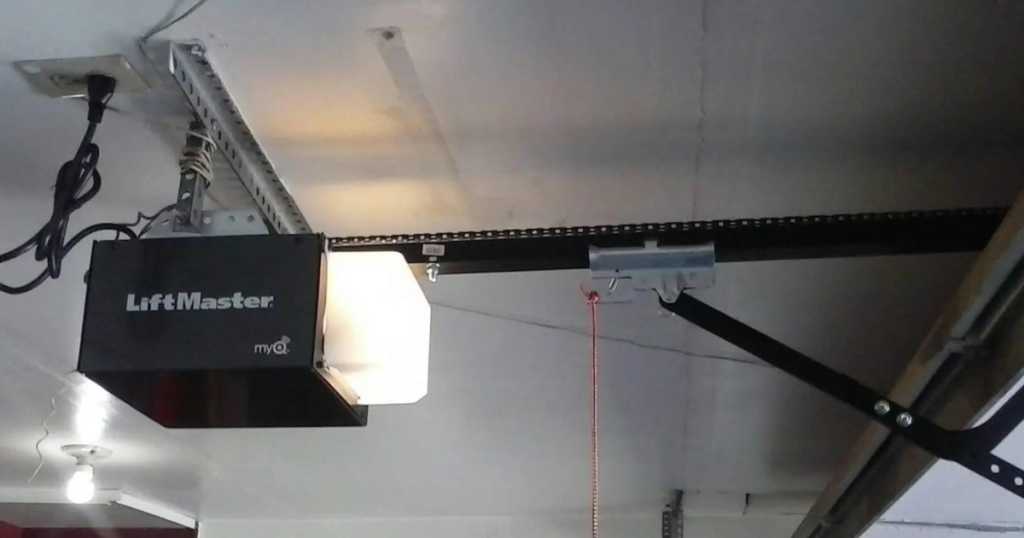
Understanding Your LiftMaster Opener Settings
LiftMaster garage door openers rely on mechanical and digital settings to control movement. These include travel distance (how far the door moves), force (how hard the motor pushes or pulls), and safety reversal systems. While factory-calibrated, these can shift over time due to environmental conditions, wear, or use.
Common Reasons for Requiring Adjustments
-
- Door won’t close all the way: This often means the down travel setting is too short.
-
- Door reverses after touching the floor: The force sensitivity may be miscalibrated.
-
- Misaligned or blocked safety sensors: These can stop the door prematurely.
-
- Seasonal changes: Cold or hot weather can affect door tracks and opener sensitivity.
It might be time for a quick tune-up if you notice any of these signs.
How to Prepare Before Making Adjustments
Before you start adjusting a LiftMaster garage door opener, it’s essential to prepare appropriately to ensure your safety and the task’s success.
Disconnect Power
Unplug the garage door opener or switch off the breaker. This step is critical to prevent accidental activation while working and ensures safety during any inspection or repair.
Clear the Area
Remove any objects near the garage door tracks and opener. Keeping the space clear helps avoid tripping hazards and gives you enough room to maneuver and access key components safely.
Gather Basic Tools
Prepare a flathead screwdriver, a sturdy ladder, and your garage door opener’s manual. These essentials will help you inspect, adjust, or troubleshoot fundamental issues safely and without delay.
Review the Owner’s Manual
Check the manual for your specific model. Newer or smart garage door openers often have special reset procedures or safety features that differ from traditional systems; always follow manufacturer guidelines.
When to Stop and Call Rockford Door Company
Not all problems can or should be resolved with DIY adjustments. Contact Rockford Door Company if:
-
- The door still reverses, grinds, or behaves erratically after adjustments.
-
- You hear unusual noises from the motor or opener mechanism.
-
- You’re uncertain which settings to adjust or how your model works.
-
- Adjustments provide no improvement.
Our team is trained to diagnose and resolve complex opener issues quickly and safely.
Step-by-Step: Adjusting a LiftMaster Garage Door Opener
Once you’re ready and the power is off, follow these steps to adjust a LiftMaster garage door opener.
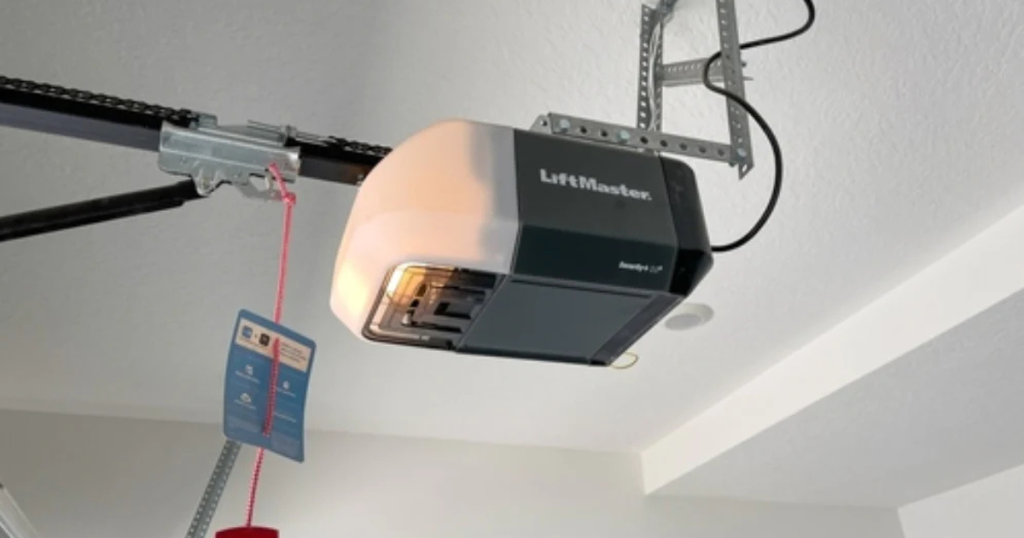
Step 1: Locate the Adjustment Screws or Digital Interface
On most models, you’ll find two or three adjustment screws or dials on the opener motor housing. These are usually marked for up/down travel and force. Newer innovative models may feature a digital interface on the wall control or require adjustments through the MyQ app.
Step 2: Adjusting Up and Down Travel Limits
-
- The up travel determines how far the door opens.
-
- Down travel determines how far the door closes.
Turn the corresponding dial clockwise to increase travel or counterclockwise to decrease it. Make small adjustments (no more than ¼ turns at a time), then restore power briefly to test your changes.
Step 3: Adjusting Force Settings
The force setting tells the opener how much resistance it can overcome before reversing:
-
- Increase up force if the door struggles to open.
-
- Increase the down force if the door reverses before fully closing.
Again, only adjust slightly and test carefully after each change.
Step 4: Testing Safety Reversal and Sensitivity
After adjusting travel and force:
-
- Place a 2×4 block of wood under the closed path. The door should reverse when it touches it.
-
- Wave your hand in front of the photo eye sensors while the door is closing. It should reverse immediately.
If either test fails, the safety settings need further adjustment, or it’s time to call Rockford Door Company.
Special Notes for Older vs. Smart Models
-
- Older LiftMaster models typically use manual dials located on the motor unit.
-
- Innovative models often require configuration via a wall control panel or app.
Always consult your owner’s manual for model-specific instructions, as incorrect settings can lead to malfunction or unsafe operation.
Troubleshooting After Adjustments
Even after carefully adjusting a LiftMaster garage door opener, you might still encounter issues. Here’s what to check:
Power Source
Is your garage door opener plugged in and receiving power? Double-check the outlet and circuit breaker to ensure the opener has the electricity to function correctly.
Sensor Alignment
Inspect the photo eye sensors near the bottom of the door. They should be clean, unobstructed, and pointed directly at each other to maintain a clear signal path.
Door Movement
Watch how the door moves. You may have a balance issue or motor-related malfunction if it hesitates, reverses suddenly, or struggles to open or close.
Unusual Sounds
Listen for grinding, clicking, or loud motor noises. These sounds could be signs of worn parts or internal mechanical issues that require immediate inspection by a professional.
If adjustments don’t solve the problem, let Rockford Door Company take a closer look.
How Rockford Door Company Can Help
When DIY adjustments aren’t enough, or if you’d simply prefer a professional inspection, Rockford Door Company is your go-to solution.
We offer:
-
- Expert calibration for all LiftMaster garage door opener models.
-
- Comprehensive service plans that include opener and door tune-ups.
-
- Same-day service for urgent issues or safety concerns.
-
- Technicians trained in force, travel, and safety system optimization to ensure reliable, long-lasting operation.
From routine adjustments to complete system diagnostics, we handle it all.
FAQ: Adjusting a LiftMaster Garage Door Opener
How Do You Adjust Lift-Off Hinges?
Start by lifting the door off its hinge pins to adjust the lift-off hinges. Gently tap the pin or sleeve if necessary for smoother alignment. Add shims or rotate the hinge leaf to modify door height or clearance. Reinstall the door carefully and check alignment for a proper fit and swing.
How Do You Adjust Door Hinges to Raise a Door?
To raise a door using its hinges, tighten the top hinge screws and loosen the bottom ones slightly. Remove the door and insert thin shims behind the bottom hinge for larger adjustments. Reinstall and test the door swing. Adjust until the door clears the floor and latches smoothly.
How Do You Adjust Lift-Off Distance?
To adjust the lift-off distance, measure the vertical clearance needed for safe door removal. If the lift-off hinges allow height modification, adjust the hinge sleeve or reposition the hinge leaf. For more control, use washers or shims between the hinge and door to increase or decrease the lift-off gap.
How Does a Lift-Off Hinge Work?
A lift-off hinge removes the door vertically without unscrewing the hinge plates. One leaf features a pin, while the other has a slotted barrel. When aligned, the door swings normally; when lifted, the door detaches. These hinges are ideal for quick door removal and maintenance.
Conclusion
Adjusting a LiftMaster garage door opener may seem simple, but getting it right can make all the difference in your system’s safety and performance. From fine-tuning travel limits to checking sensor alignment, these small steps matter. Still unsure or facing persistent issues? Rockford Door Company offers reliable, expert service when you need trusted local support.
If adjusting a LiftMaster garage door opener doesn’t deliver smooth operation, don’t hesitate to call in professionals. Rockford Door Company brings years of hands-on experience and a commitment to quality repairs. Your garage door deserves precision and care, especially when safety is involved. Let the experts handle the job right the first time.
End Note
Rockford Door Company is your trusted local expert for garage door repairs, opener adjustments, and premium installation services. Whether you’re troubleshooting a malfunction, need professional advice, or want to explore high-quality options like our C.H.I. garage doors, our team is ready to help. Visit our garage door repair services page to learn how we diagnose and resolve issues efficiently and safely for homeowners across the region. For more insights, explore our blogs or learn more about us and the values that drive our commitment to customer satisfaction. Ready to schedule a service or ask a question? Head over to our contact page for fast support. Or, simply visit our homepage to navigate all services and get started. Your garage door’s performance is always in expert hands at Rockford Door Company